Fuel injectors. I had never really thought about them. My car seemed to be running fine and I was not receiving any error codes. Now my car has pretty high miles. Yours may as well. However, she did not get the gas mileage or have the spunk I thought she should have. I also noticed that there was a lot of dirt collected around the fuel injectors. I decided to renew the injectors after realizing that they had a rubber seal which is brown in the picture above and which I figured was no longer working well.
I am very glad that I did. Not only were the rubber seals not sealing properly anymore, but as I was to discover the injectors were not delivering the same amount of fuel.
Fuel injection is a great invention. With the aid of your car's computer fuel injection allows the ideal amount of fuel to be delivered to each cylinder. With carburetors, like my Spitfire has, they deliver fuel to each cylinder, but it is kind of the same rather then exactly the same. Fuel injectors are exposed to a very harsh environment and so over time they get gummed up and no amount of fuel injector cleaner added to your tank will clean them.
If you look at the cost of new injectors it can be quite high and because you want them balanced you should really replace all of them if you are going to replace them. Having them refurbished on the other hand is very reasonably priced and as part of the refurbishment your technician will do a before and after flow test; at least that is what Mr. Injector does.
I was wondering if refurbishment would be worth it so I contacted Mr. Injector first to ask him a question or two. He let me know that the BMW injectors for my car were very robust and so they where a great candidate for refurbishing. He also let me know that they check them before doing the work to be sure there are no problems with the injectors that would make it impossible to refurbish.
I am not going to give a complete how to guide as this is a big enough project that you should definitely have a manual to guide you through this process. I will give some hints that your guide will not include and as always your results may be different and I can not take any responsibility for problems that may occur. This is serious stuff as fuel is involved so please do not blow yourself up, or skimp on replacing some fuel hose and end up with an engine fire.
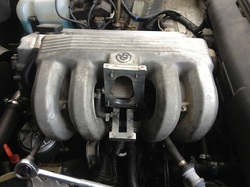
The first thing you want to do is relieve the fuel pressure. This is super important unless the idea of fuel under high pressure squirting in your eyes and creating a fire hazard sounds like fun. Even after you do that there will still be fuel around so act accordingly. The picture to the left reminds you that the fuel injectors on this motor are buried under a lot of stuff so you will be taking a lot of things apart. This is like a military campaign. You need to prepare, gather your gear, and be ready for unexpected things to happen.
Preparation includes getting a service manual, digital camera, Ziploc baggies with a Sharpie to label them, a place where your car can be for a week or so, a fire extinguisher just in case, and a paper to keep a list of parts that you will need to replace. Under the intake manifold as well as on the way to it there are fuel lines, vacuum lines, radiator hoses, and you should really be thinking about replacing some of them especially the ones that are hidden and whose replacement would require you to take all of this apart again. Cooling and fuel lines being good is obvious, but the vacuum lines are something that do it yourselfers do not always pay enough attention to. A few little leaks lead to a lot of leaks and besides a vacuum leak will suck in dirt and other contaminates into your system so not replacing old vacuum lines is a false economy. If the vacuum line is no longer flexible or if it is even a little loose you should consider replacing it. After all my 1991 car is over 20 years old.

After relieving the fuel pressure and removing the aircleaner assembly and the throttle body and anything else in the way it will look like it does on the left. You of course are taking pictures as you go and labeling things and taking notes about items that need replacing. The intake manifold is a two piece on my car and so you will be removing the first part to finally gain access to the fuel injectors.
There were quite a few nuts and two that I had to search carefully for before removing the upper part of the manifold. When I got it off it looked like the photo below.
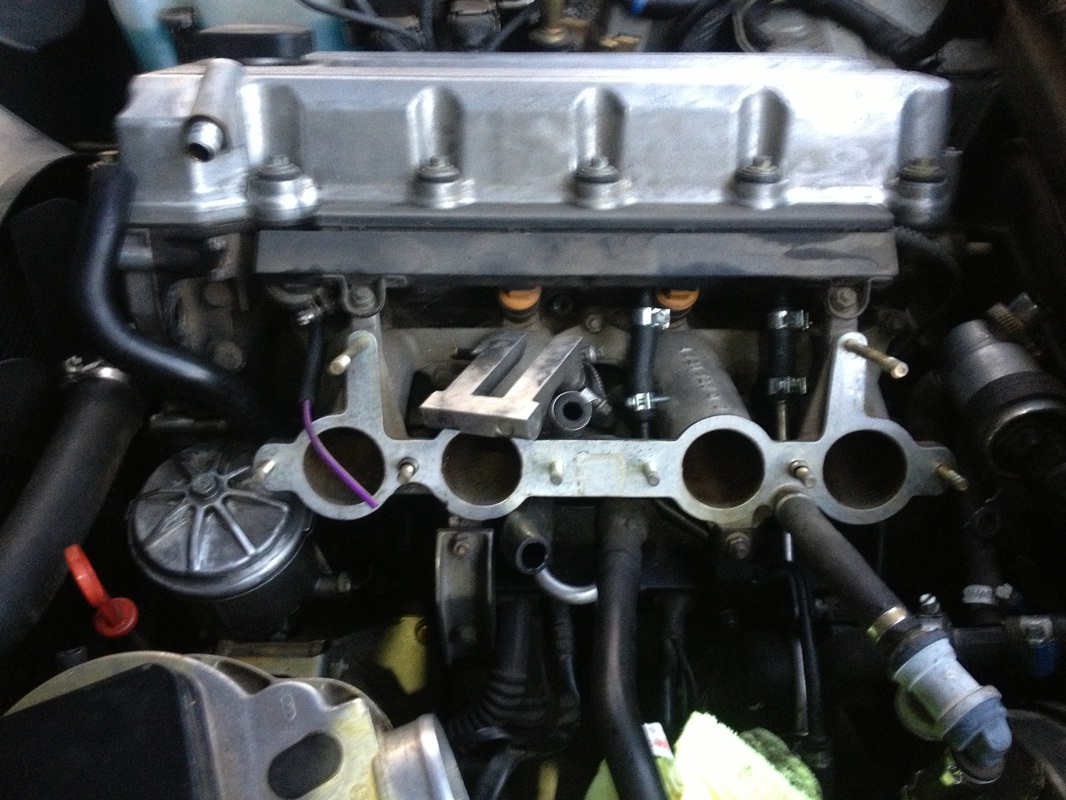
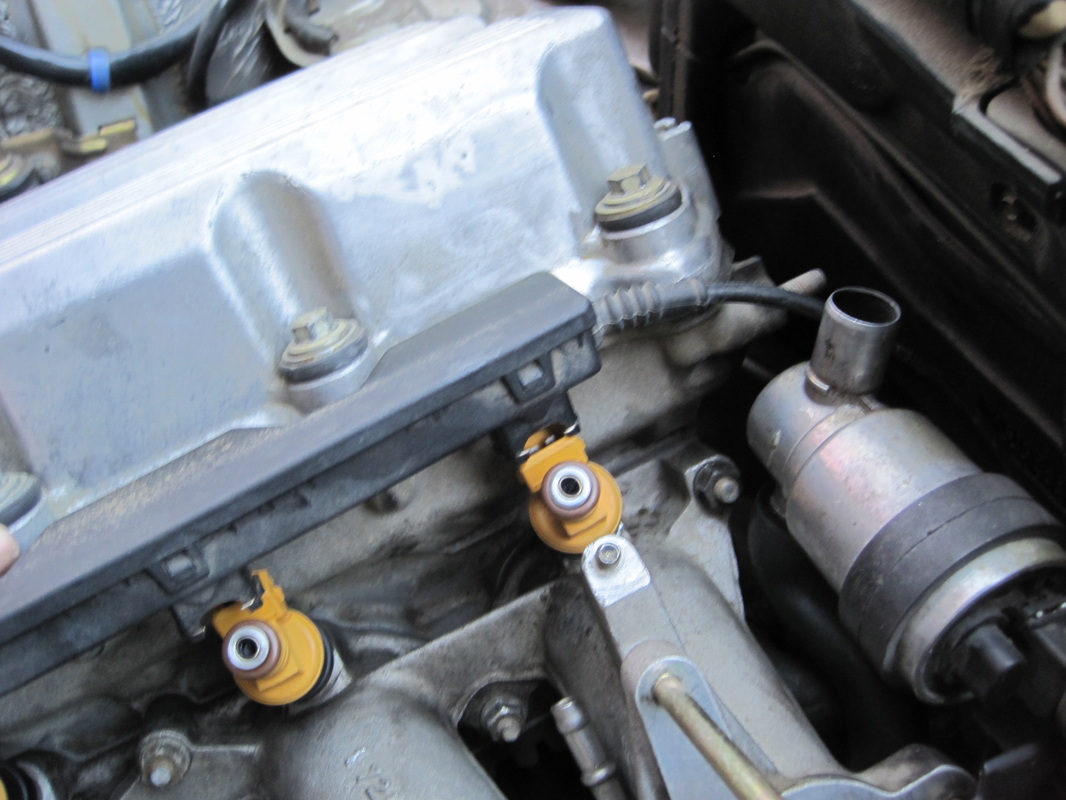
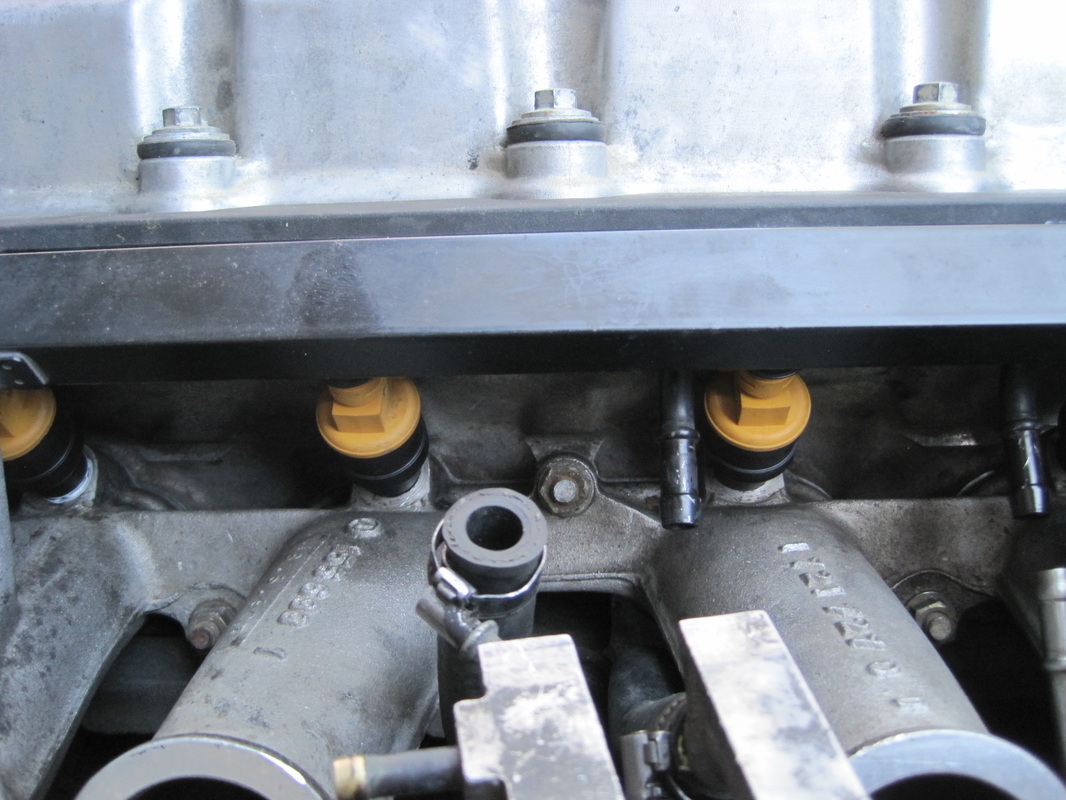
In the photo above you can see a black rectangle just below the valve cover with two nuts holding it on this is the fuel rail that is connected to the fuel injectors.
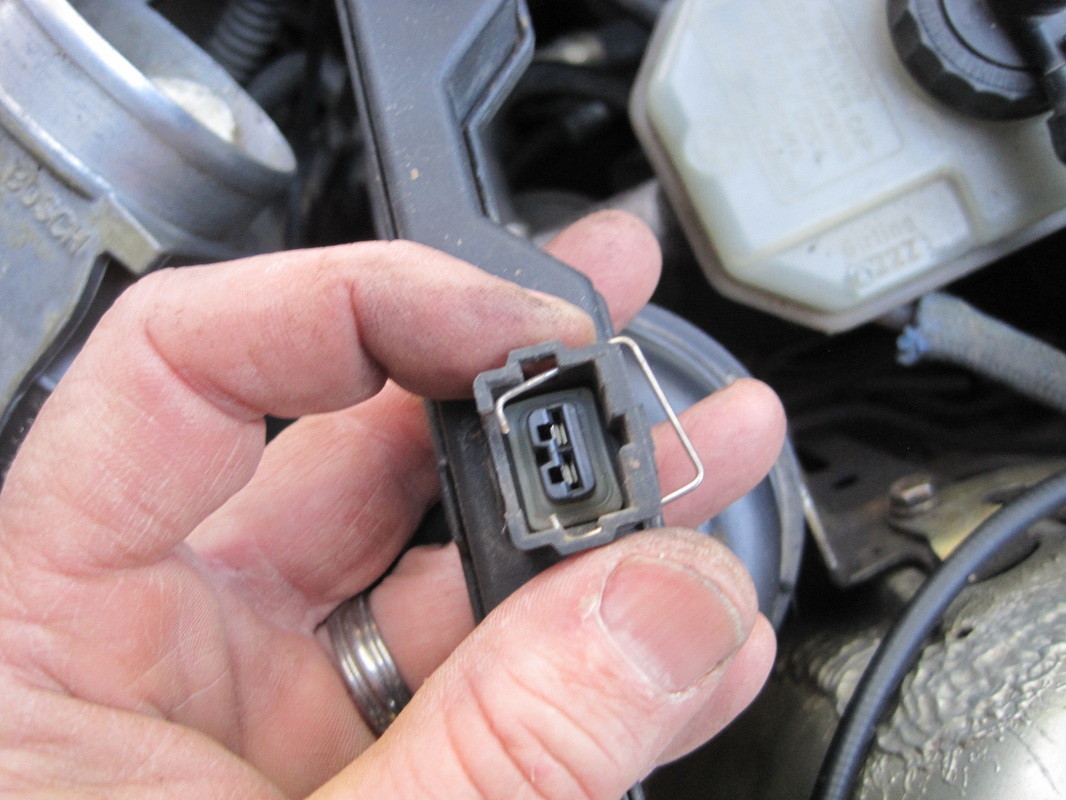
I have some confusion about whether I took off the electrical connectors first. I am pretty sure I did that after removing the injector rail because I do not think you can access it to remove before. I have some pictures near the end of this article that show more about this. You also may have to remove the pressure regulator. There is a picture near the end of the article with a screw driver. I just don't remember if I had to do that now. To remove the rail which is connected to the injectors you take off the two nuts and then you try to lift. Be prepared for it to not want to lift up easily. In fact if you look on line there are many people who come to this point and freak out. I had to use a really strong pressure and a long crowbar with a block of wood to pry it up. In my case it was worsened by the deteriorated rubber seals and the dirt and grime that had built up and then baked on. The fuel rail was stronger then it seemed. Be careful at this point because the end of the fuel injectors are made of plastic that often falls apart at this stage. You would prefer to not have the pieces fall into your motor. They are plastic and so would probably not damage your motor, but I can make no guarantees. When I asked Mr. Fuel injector about this, because I had one small piece that may have fallen in, he said that he did not know of anyone who had had damage because of this. Now you will need to disconnect the electrical connectors by prying out the little rectangle wires.
I wish that I had taken a before picture of the injectors. They really seemed hopeless and I feared the worst. But they ended up being just fine for a rebuild. Mr. Injector not only replaces the plastic parts, but he also paints them and cleans them with an ultra sound as well as putting on new seals and pretesting for body leaks as well as to get a before and after flow. On my injectors one was still flowing correctly. The other three had a reduced flow of 4%, 8%, and 11%! With Mr. Injector you get a print out of some of the tests as well as the results. I mailed them on a Monday and had them back by Thursday and he even called to let me know they had been tested and would be rebuildable.
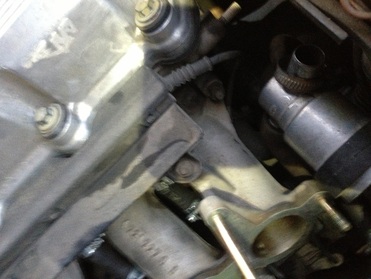
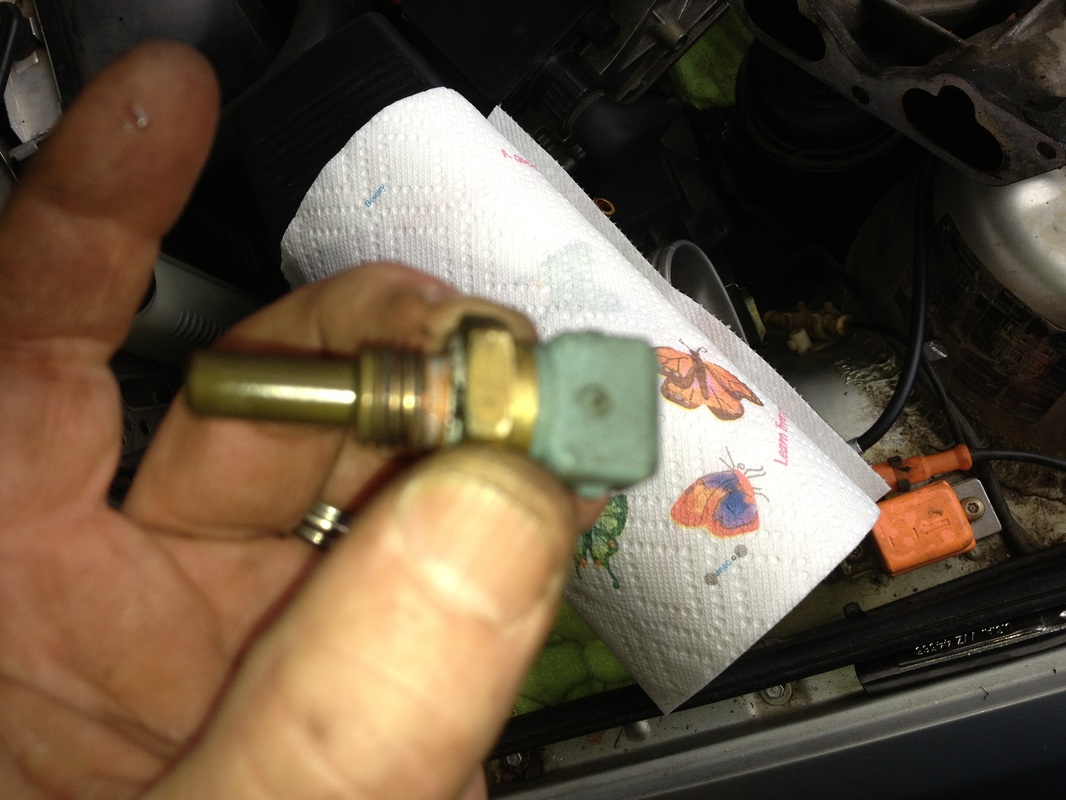
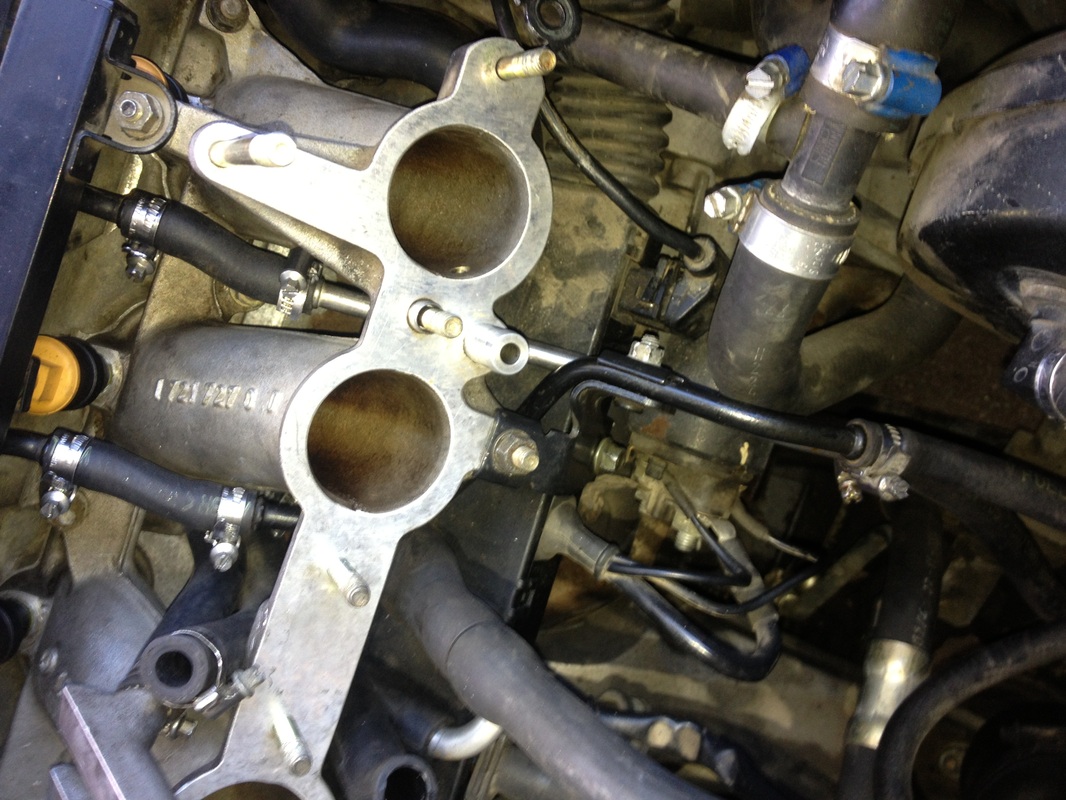
There was clear evidence of contaminates flowing around the seals so part of the re-install included cleaning the intake manifold around the injector opening. In addition to replacing the various pieces of rubber I also replaced a temperature sensor shown below. You will note that I took off the lower manifold as well. While that is not necessary for the job I removed mine to have better access to some of the hoses that I had to replace. and to get all of the little plastic pieces that had broken off. This temperature sensor gives feedback to the car's computer to regulate how the motor runs and it only cost a few dollars so replacing it now was worth the effort because of its location.
There was clear evidence of contaminates flowing around the seals so part of the re-install included cleaning the intake manifold around the injector opening. In addition to replacing the various pieces of rubber I also replaced a temperature sensor shown below. You will note that I took off the lower manifold as well. While that is not necessary for the job I removed mine to have better access to some of the hoses that I had to replace. and to get all of the little plastic pieces that had broken off. This temperature sensor gives feedback to the car's computer to regulate how the motor runs and it only cost a few dollars so replacing it now was worth the effort because of its location.

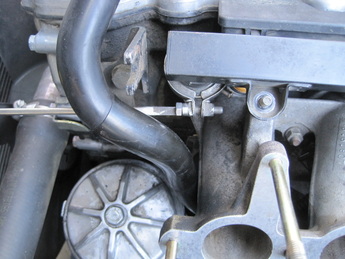
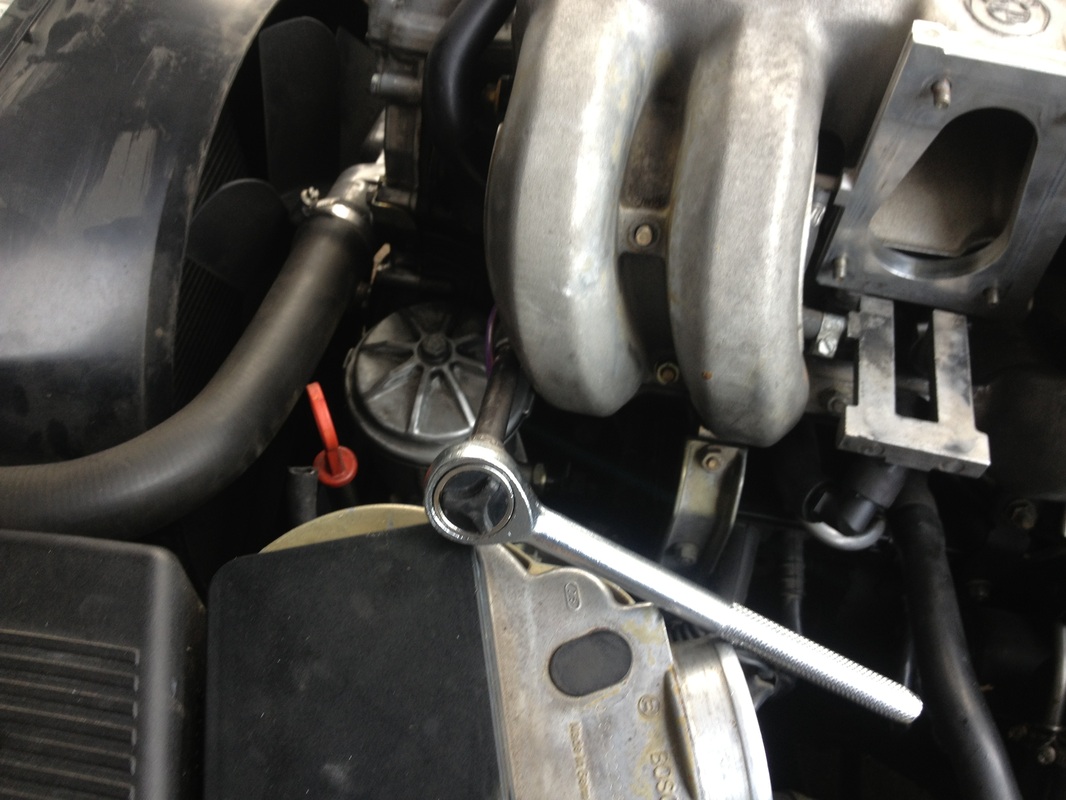
I also replaced a small rubber seal that is part of the fuel pressure regulator that is a disc shaped item on the fuel injector rail. Sorry I do not have a better picture but you will see it clamped on the rail at the end near the front of the car. You can see it in the picture on the left with a screw driver starting to loosen it. This small rubber seal should always be replaced at this point.


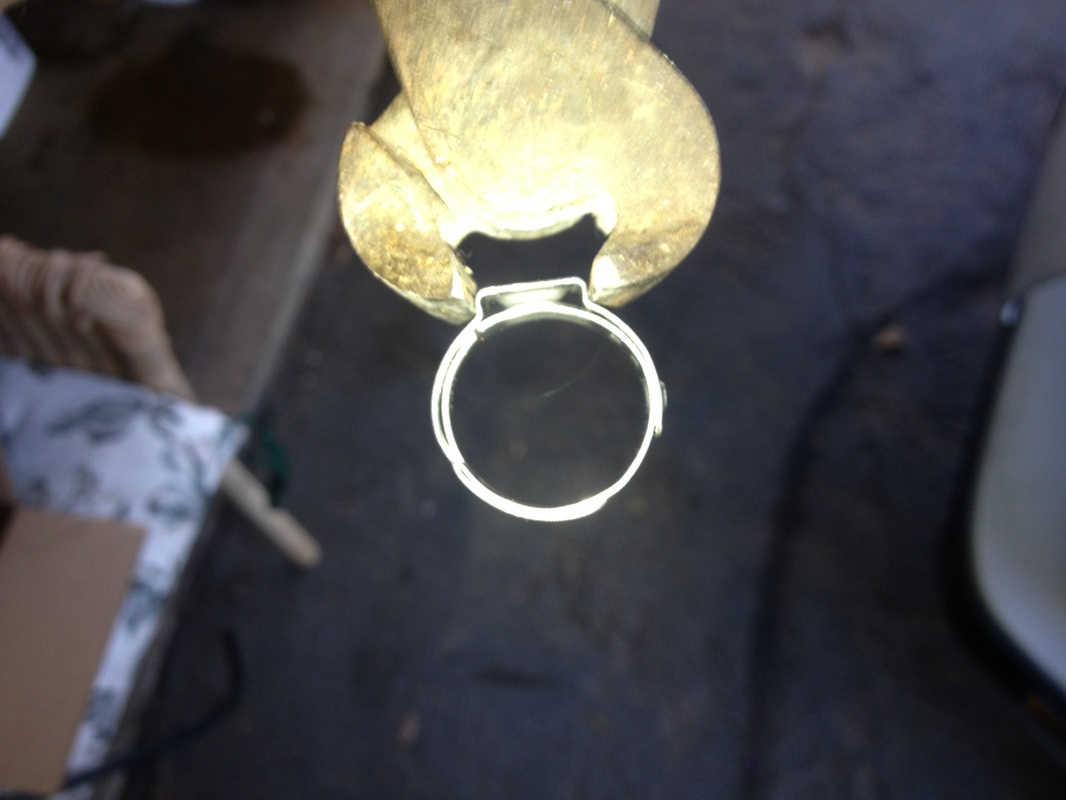
WARNING! Additionally there was a recall on my model and year because two short fuel lines inside the cocoon of the intake manifold have a tendency to leak because of the constant exposure to high heat. Remember my caution about engine fires. The recall had the dealer use a special kind of fuel clamp that can handle the expansion and contraction of the rubber fuel lines. My BMW dealer was no help with this because the mechanics actually advised me against using the recall recommended fuel clamp and none of the mechanics that I talked to were actually around when the recall was being implemented. I will advise you to be careful with this, but will not advise you how to solve this issue as it is just too scary if my suggestion is wrong. Below you will see a picture of the hoses.
Basically putting it all back together is a reverse of what you did. Notes. Be clean! Use a torque wrench. Take your time. When using screw on hose clamps set them up so that you can access them through the openings around the throttle body so that you can tighten them later if needed. When you start the car turn the key to the first part and wait for fuel pressure to grow. Check for leaks and have yourself a celebration. Perhaps a recreational beverage would be good about now. You deserve it.