Recovering Your Tired Dashboard
My Dashboard was tired and cracked. This was true even though my car has always been in California and has always been stored indoors. I considered multiple options (dash cap, fill holes and cover with vinyl, new dash) and choose in the end to go with a dash cap. I have been very pleased with this dash cap choice for the spitfire. I do not universally support dash caps as I had a very bad experience with one on my BMW 318i. Below is a brief overview of the installation process. You will most likely need to consult manuals and the like for some of this process or use careful observations and slow methodical working to complete this project.

While the dash cap instructions will tell you how to do it with the dash in place I highly recommend that you put in the extra time to pull the dash completely out. This will allow you to get it properly prepped, properly glued and most importantly properly clamped. The Spitfire dash comes our relatively easily. In fact when compared with most dashboards the Spitfire removal is a breeze!
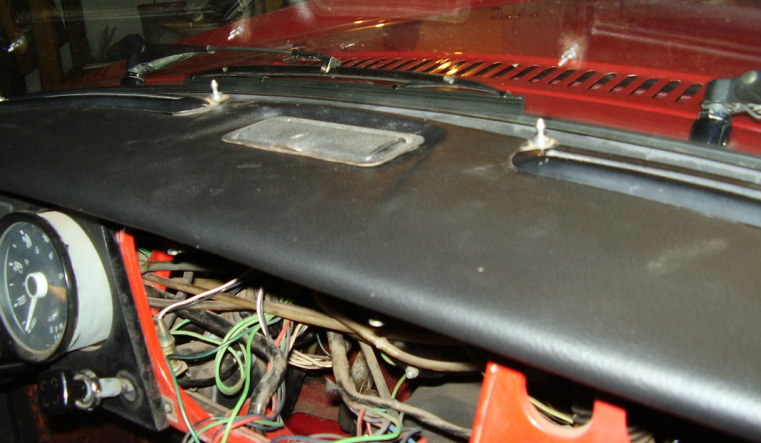
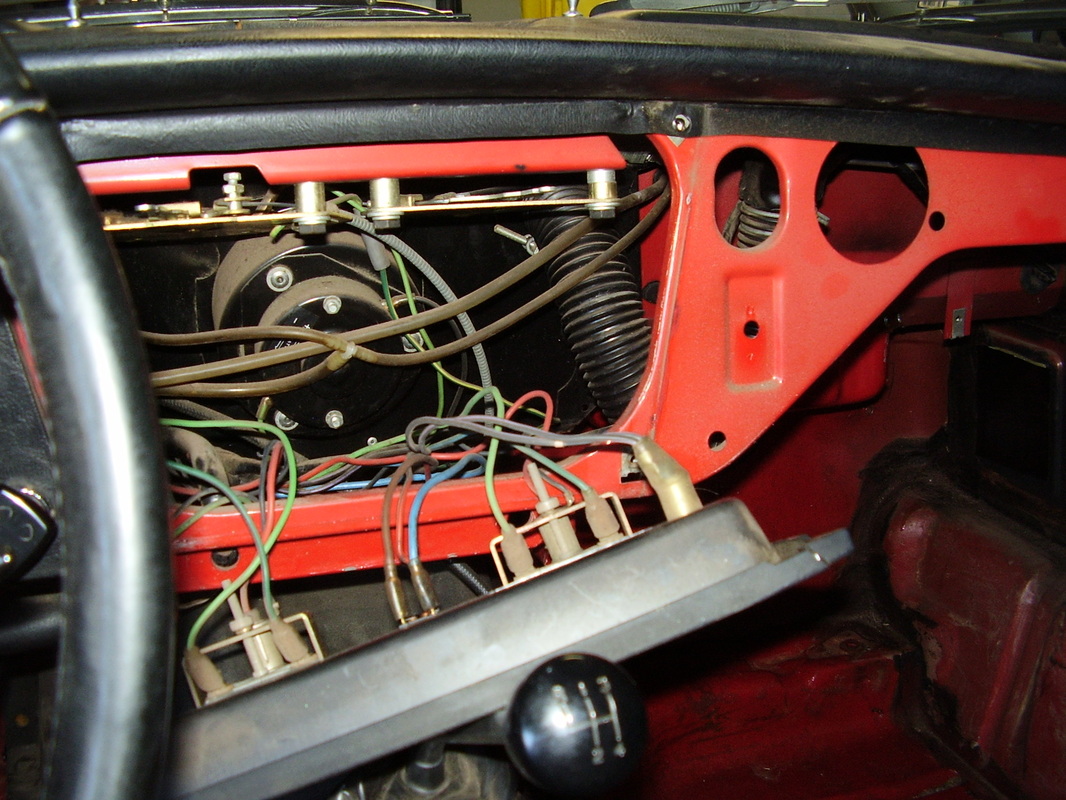
The first step of removal involves removing the three pieces (Or one on earlier models of Spitfire) of the instrument panel(s). They do not have to be completely removed but allowed to tip forward. You can see in the photo below that the dash extends down and is partly covered by them
The first step of removal involves removing the three pieces (Or one on earlier models of Spitfire) of the instrument panel(s). They do not have to be completely removed but allowed to tip forward. You can see in the photo below that the dash extends down and is partly covered by them
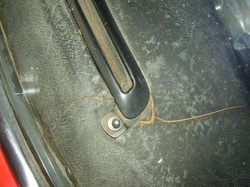
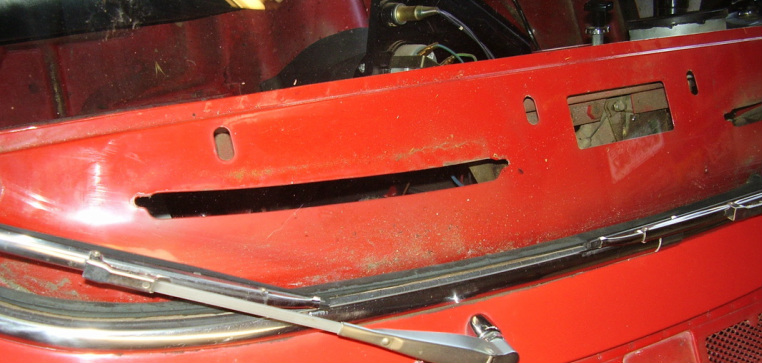
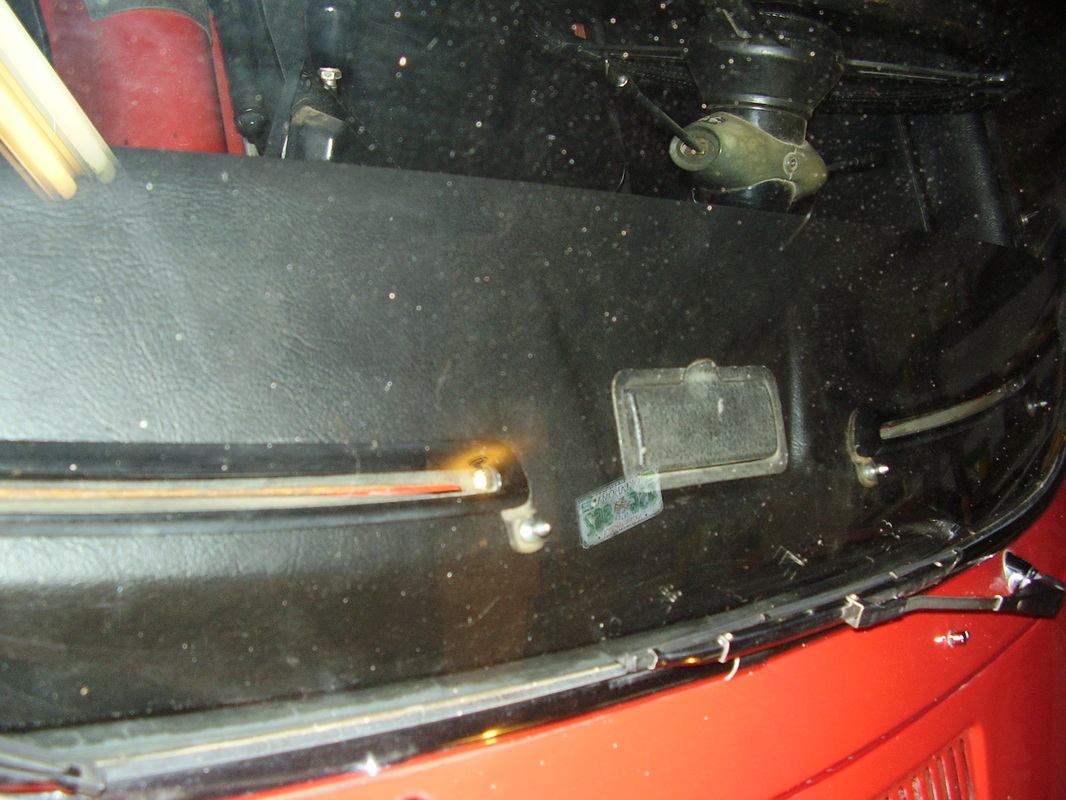
- Now there are little hard to reach nuts that you must find and undo. In the photo below of the dashboard removed note where the holes are because that is where the nuts are to remove the dashboard.
- There are also two nuts for each defrost vent. Tip with this kind of work take your time, take notes, take photos, and use labeled zip lock bags because you will never remember as well as you think you will where everything goes. Most importantly do not force anything. Dash not moving? perhaps there is a nut you missed.
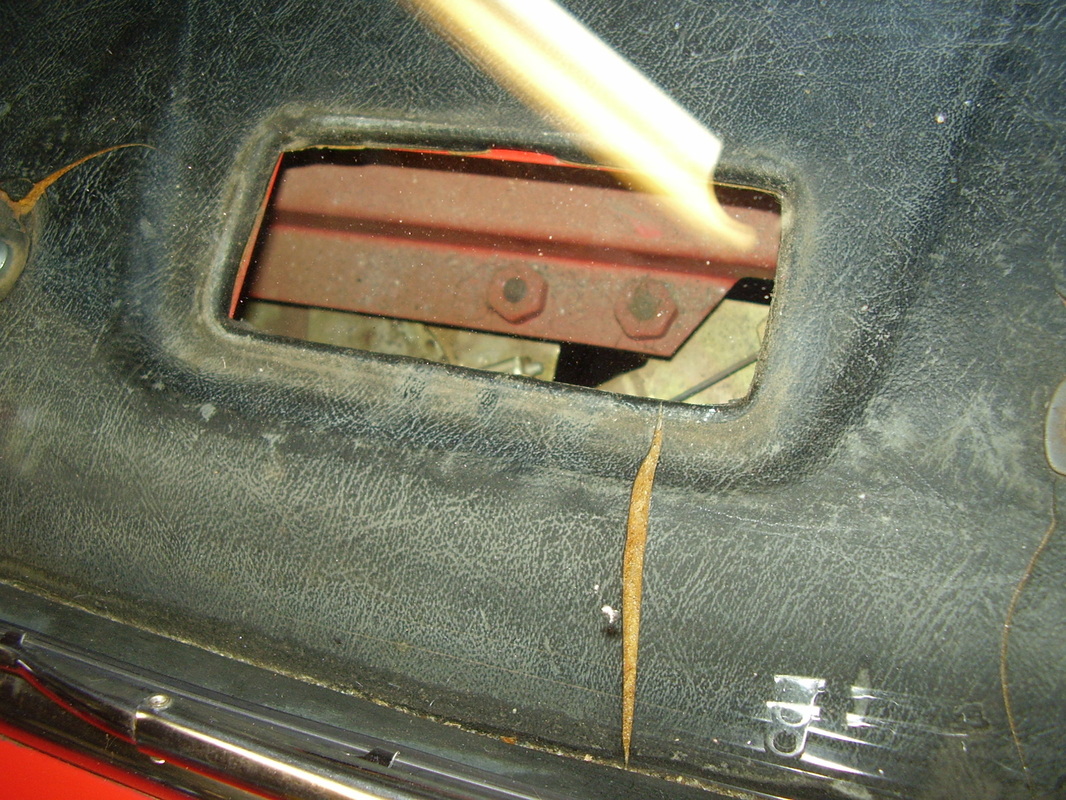
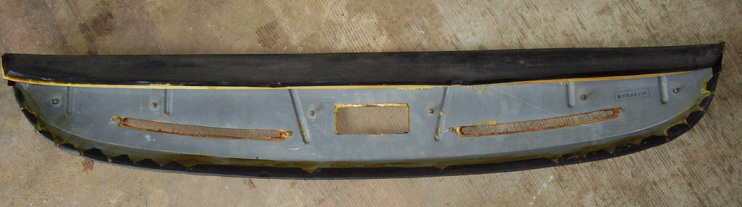
The underside of the dash is shown below. Once again you can see the screws that the nuts connected to. Six on my spitfire and the two for each defrost vent.
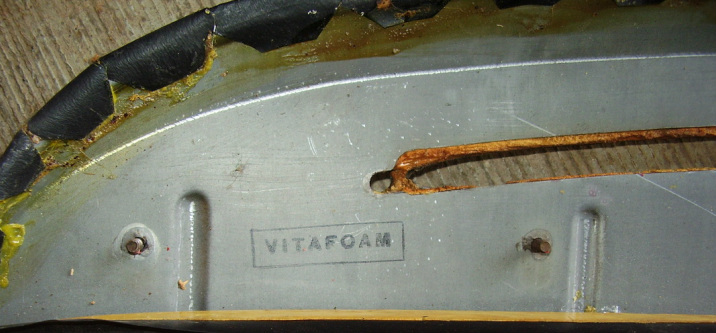
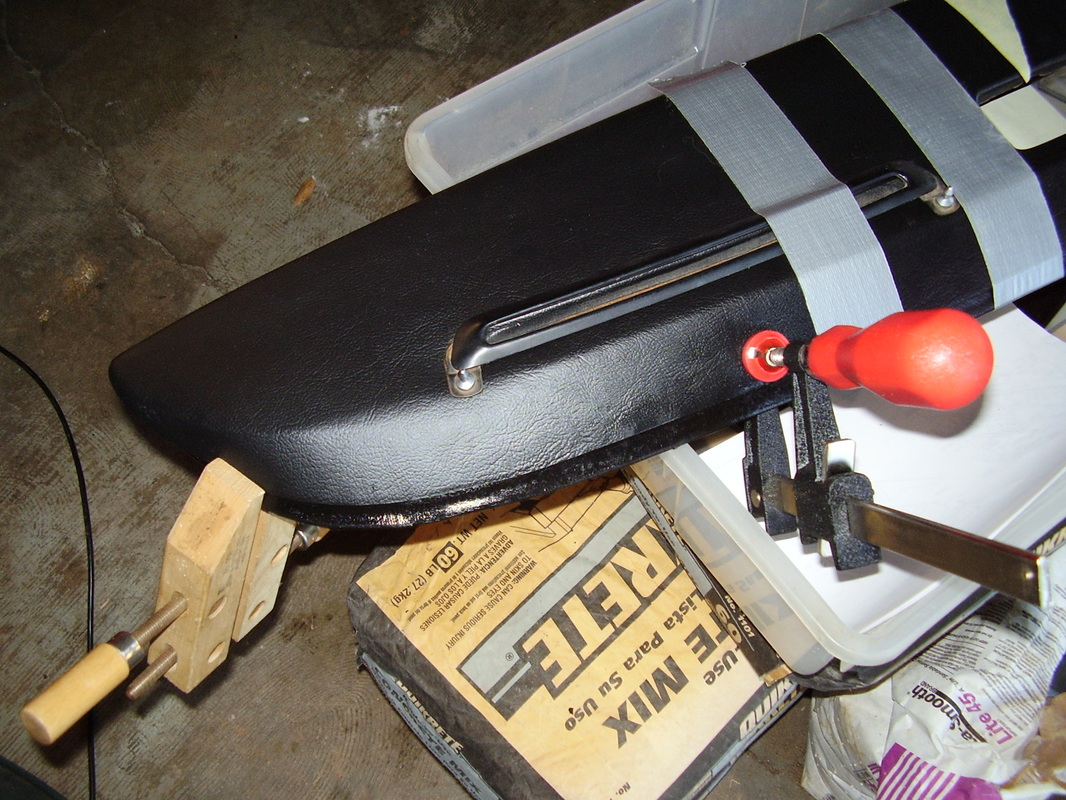
Now you will prep the dash for installation. The prep should include a complete cleaning, a gentle roughing up of the surface and I recommend gluing down loose vinyl and filling holes or gouges. When you feel the dash cap you will think that imperfections underneath will not show. You will be wrong because over time the dash cap molds to the surface underneath. To fill large cracks one way is to go to a home store and purchase spray foam. Widen the crack near the bottom so that the upper opening is smaller then below. That way the foam will not just pop out. Spray only a little. The foam expands like crazy. When it dries use a razor blade and if needed sandpaper to make it flush. Below is a close up of the back side which shows some new glue on the left where I glued down the old vinyl.
Once you are ready do a pre-gluing set up. This is very important! The glue does not set up right away so you must fashion tape, clamps, etc to make sure that the dash cap glues properly. Once you have your plan in place use the glue per manufacture's instructions and clamp and tape it up. Let it properly dry. I would wait overnight. Now you get to reverse your steps to re-install the dashboard. You have a lovely "new" dashboard that should last for many happy years of top down enjoyment!

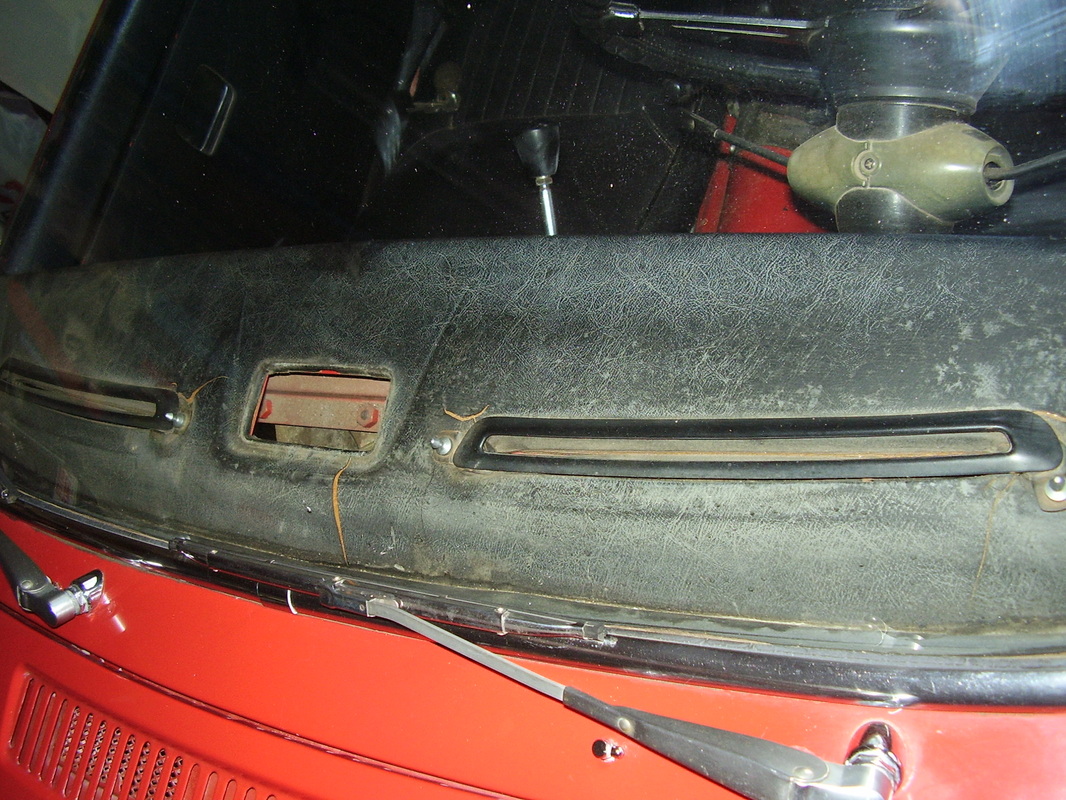
Final notes and hindsight. This was an excellent upgrade to the car. It was a great bang for my buck in terms of improving the looks and the driving experience for me. I should have sanded and repainted the defrost vents and the little moving hooks for the tonneau cover when I had them off as they instantly looked shabby when compared with the new dashboard. Below is one more not very good picture of the new dash re-installed. Notice how the ash tray stands out as needing to be repainted.