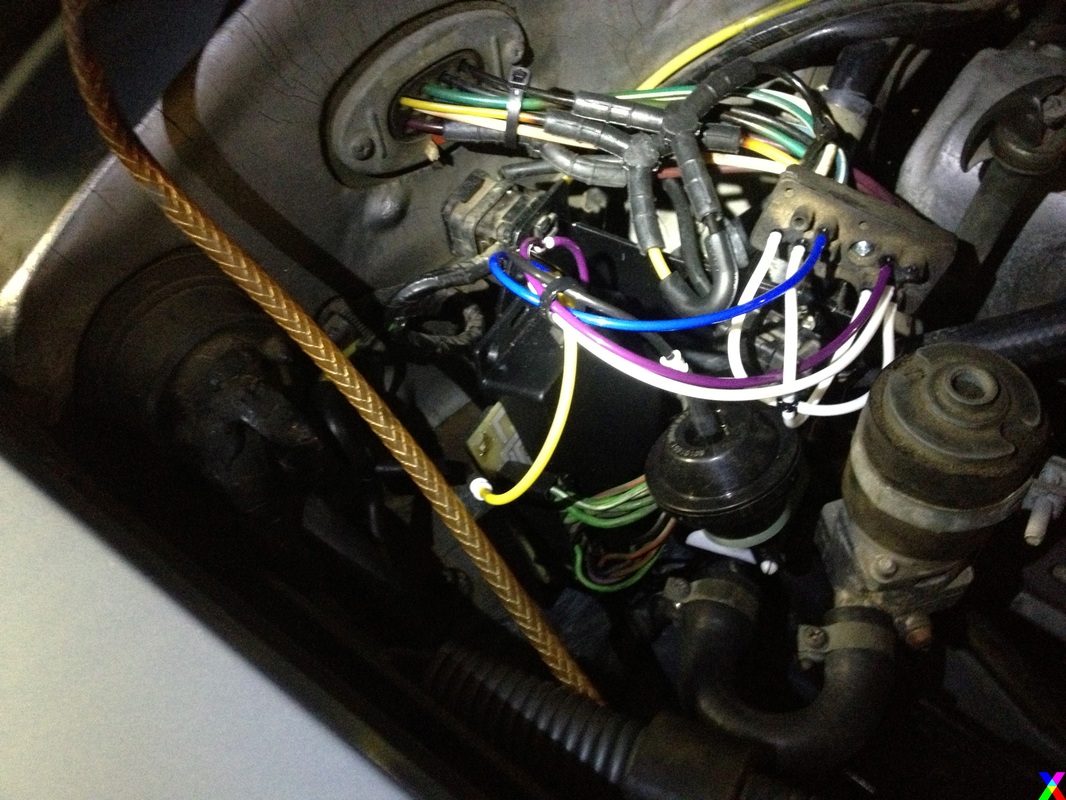
Theodore Roosevelt said' "The American people abhor a vacuum." It is too bad that the German car maker Mercedes did not adopt this attitude with the 450SL. Why you ask? Because in my wonderful Mercedes many of the most basic functions are controlled by engine vacuum. The door locks, transmission, motor and smog control functions and of course the climate control system. While it works fine when everything is fresh vacuum based systems do not age gracefully. After reading every reference I could find on the web about the various options (delete the system, rebuild the servo, buy a new servo, retrofit an older system, or go digital) I choose to go with a digital system. The troublesome servo is at the top of the page with my new digital system shown to the left. I have included a link at the top to the Unwired Tools LLC solution. I do not receive compensation from them, but if you use their solution please let them know that you read about them on my website.
This all started with some liquid. My climate system was working correctly, except for the tepid air conditioning which is classic for this model, when I happened to notice a little radiator fluid just under what I was to later learn was the servo. It must be a loose clamp or perhaps an old heater hose I optimistically told myself. Unfortunately; I was wrong. The plastic servo housing was cracked and while the system was still working properly it was only a matter of time before it stopped; not to mention the danger to animals from the sweet tasting radiator fluid where a teaspoon full can kill a cat.
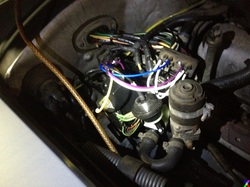
The digital system still utilizes the vacuum controls and is integrated with all of the heater hoses.
This all started with some liquid. My climate system was working correctly, except for the tepid air conditioning which is classic for this model, when I happened to notice a little radiator fluid just under what I was to later learn was the servo. It must be a loose clamp or perhaps an old heater hose I optimistically told myself. Unfortunately; I was wrong. The plastic servo housing was cracked and while the system was still working properly it was only a matter of time before it stopped; not to mention the danger to animals from the sweet tasting radiator fluid where a teaspoon full can kill a cat.
The digital system still utilizes the vacuum controls and is integrated with all of the heater hoses.
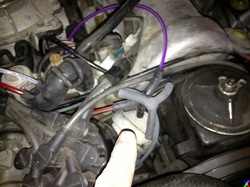
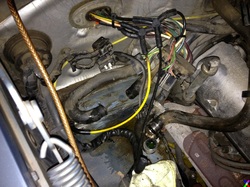
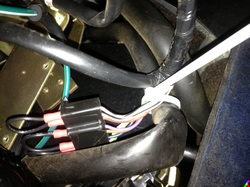
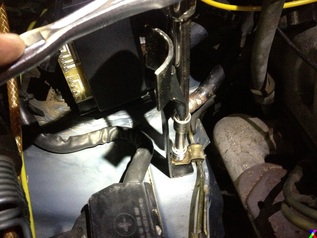
I had already realized for reliability and piece of mind on a car that is over 34 years old that I was going to have to replace the rubber vacuum connectors in the engine compartment as well as the heater hoses. Here you can see me pointing to an old vacuum connector and underneath it the replacement connector. Being that the car is vacuum controlled in so many places the slightest leaks here and there can lead to large leaks everywhere. While the large radiator hoses had been replaced the heater hoses looked original. I like to drive my cars and sitting by the road steaming is not my idea of fun. Before I even touched the climate system I looked all over the car especially in the engine compartment and counted all of the rubber Y's and T's and straight pieces of different sizes. I also had to replace some of the stiff plastic vacuum lines that passed over the valve cover as they had become brittle. I then replaced all of the brittle lines as well as the Y's T's and straight pieces only taking off one at a time.
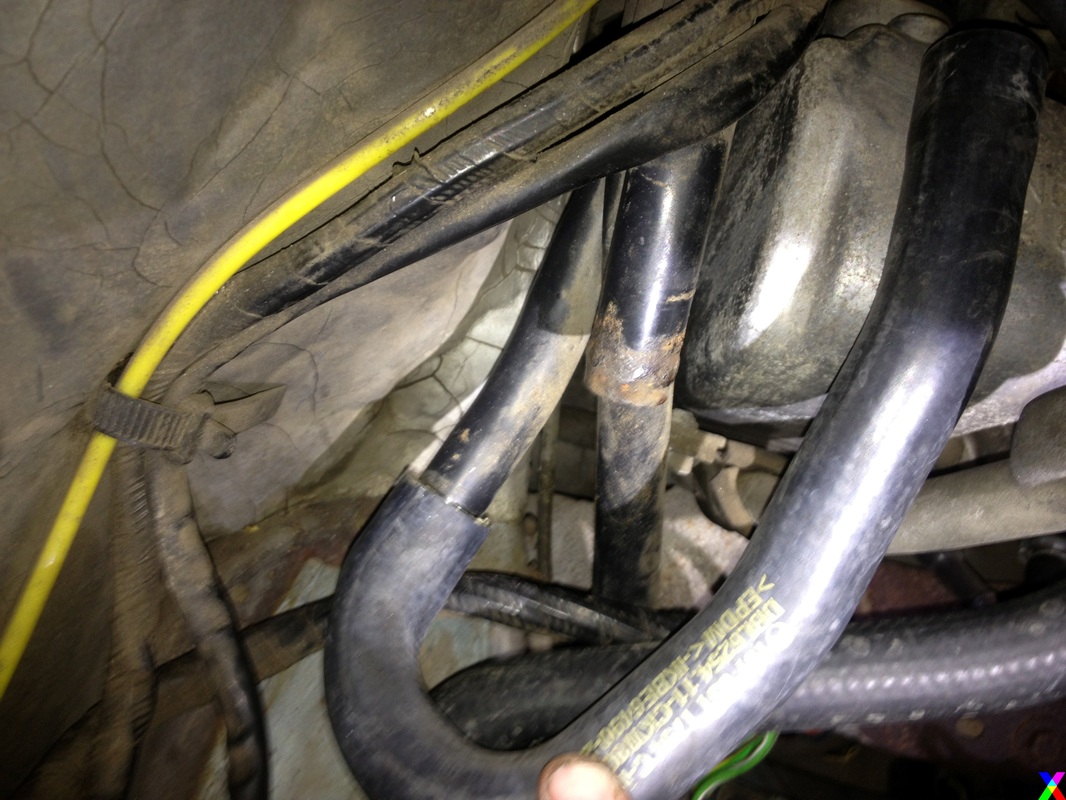
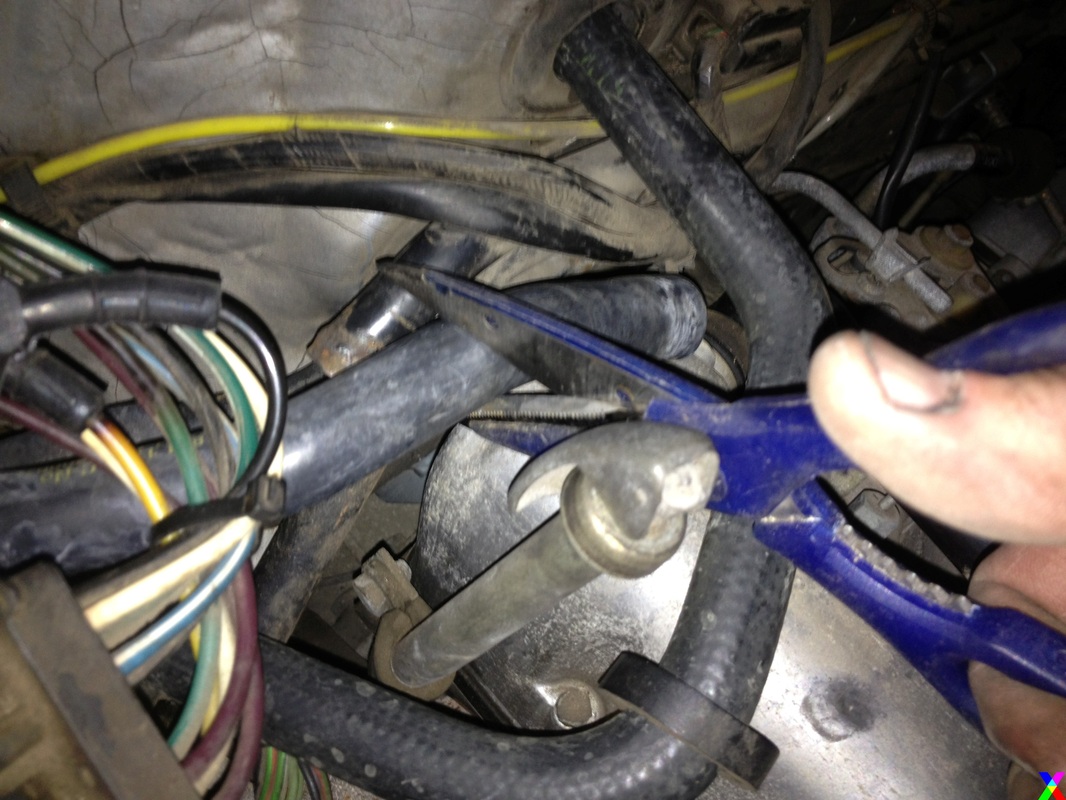
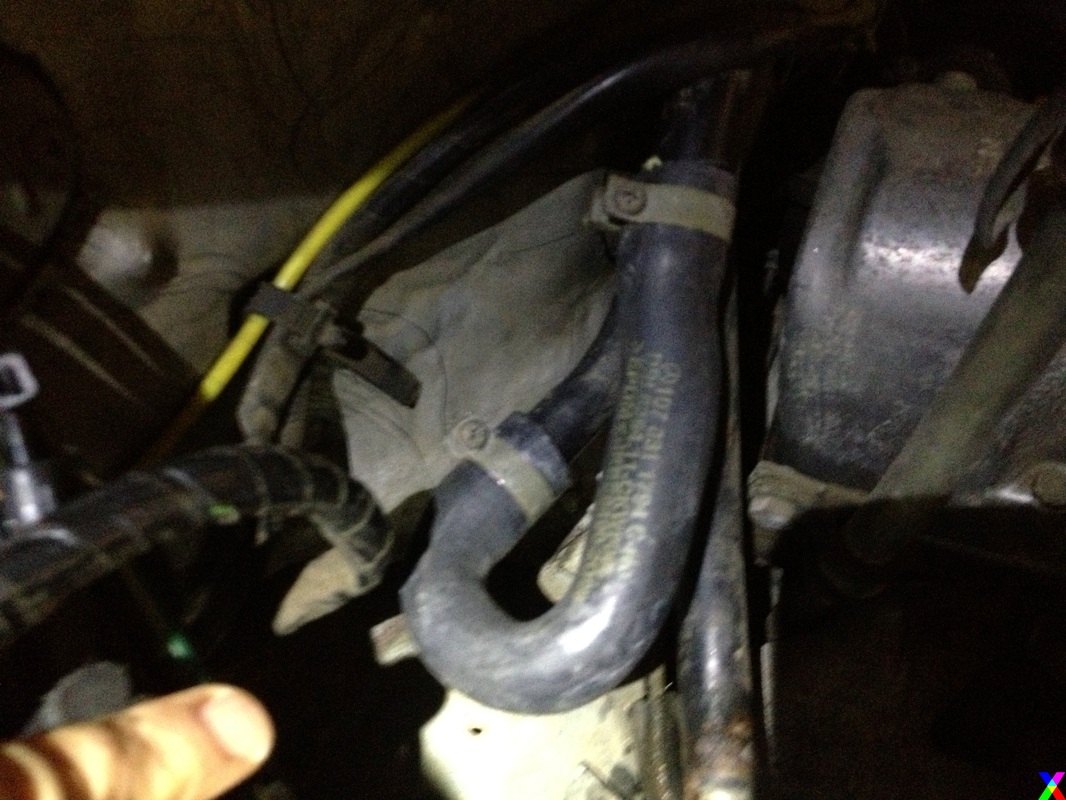
This is a crazy complicated system so being methodical will go a long way towards your successful restoration. Once that was done I worked to catalog and order all of the heater hoses. You will be disconnecting many of them as well as draining the system at least partially so you might as well replace them as you go. The dealer charge for these heater hoses is just unreasonable so go aftermarket for sure. I did have one heater hose that I could not find in the aftermarket until I searched for it using the Mercedes part number. This was worth the time as Mercedes wanted over $125 for this hose. It is the curvey one on the drivers side that goes into the firewall and is connected under the vents. In a Mercedes part diagram it is known as 173. The Mercedes number that I used to find the part online is 107-831-15-94
Go to my page on the vent covers for a how to for accessing the input and output heater hoses.
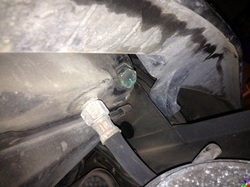
You are going to have to drain the radiator fluid. I drained it all. Here is the plastic nut that is on the bottom of the radiator. There are also two bolts on the motor that should be removed to get a complete flush. Note that they require some kind of thread tape when you re-install them. Please be careful with the radiator fluid. It is extremely toxic to animals and it tastes sweet to them. I also saw it used to murder someone slowly over time on a television show. You have been warned! It is also bad for the environment so put it in a container and your local landfill or certain auto parts stores will take it.
Next I removed the Servo and the bracket that holds it in. I left the various pipes in place until I had the new ones and was ready to go. You are putting parts in baggies and taking notes aren't you?
The instructions with the Unwired unit recommended a professional installation, but I found this project easy enough for someone who is patient and careful. The key is that my system was still operating. If you have vent actuators or other little parts of the climate system that are broken then your experience may be very different
I ended up sanding and painting the bracket that held the servo. I drilled holes to fit the digital part of the new system. I also took a brass L bracket and bent it straight and mounted the little rubber part that you take off of the servo on to the bracket as well.
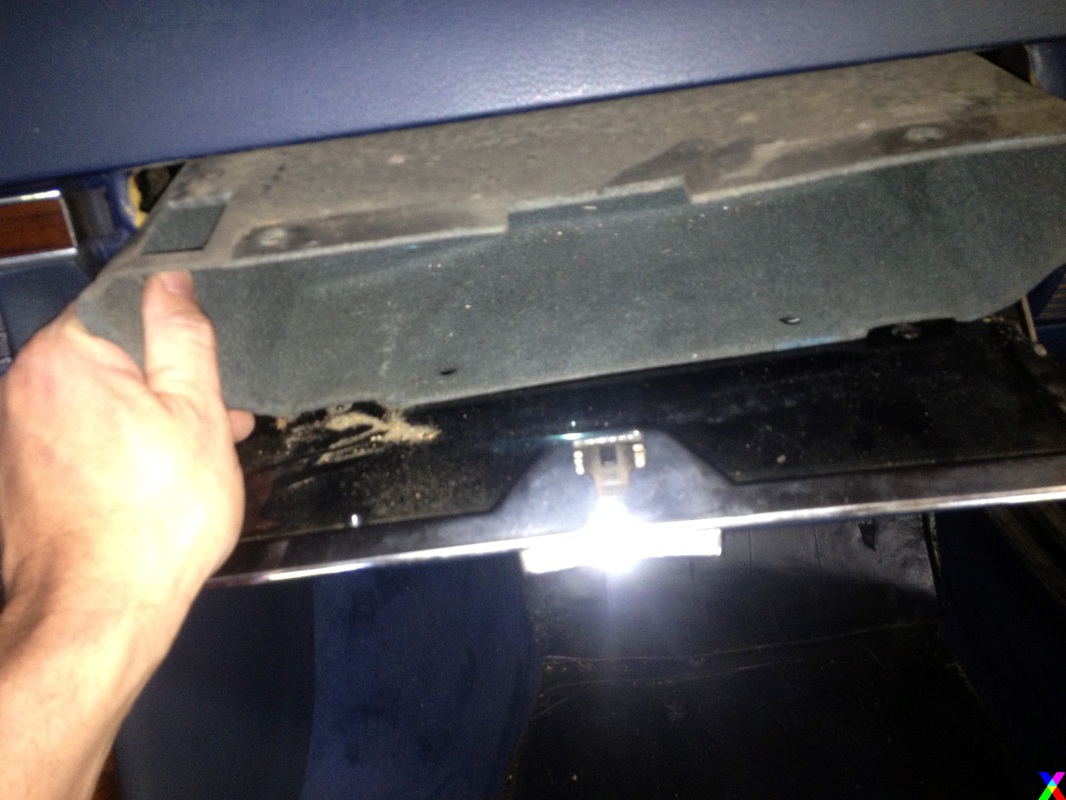
Now you are going to work inside of the car so perhaps change your clothes or do something so that all of the fun you were having in the engine area does not make a mess of your interior. You will be removing the glove compartment. If you read about my vent removal then you know you should get some cool non marring plastic tools. If you did now you will get to use them again. Aren't you glad you bought them? Look at the series of photos below to see how to take out the glove compartment. Do be careful it is just glorified cardboard. Wait a minute. I hear you thinking, "I will just use a screw driver." Do not do it. Buy the plastic tools you will be happy you did.


Do not forget to take out the latch. Gently tip the box forward. Wow, look at all of the wires and vacuum hoses and other parts!

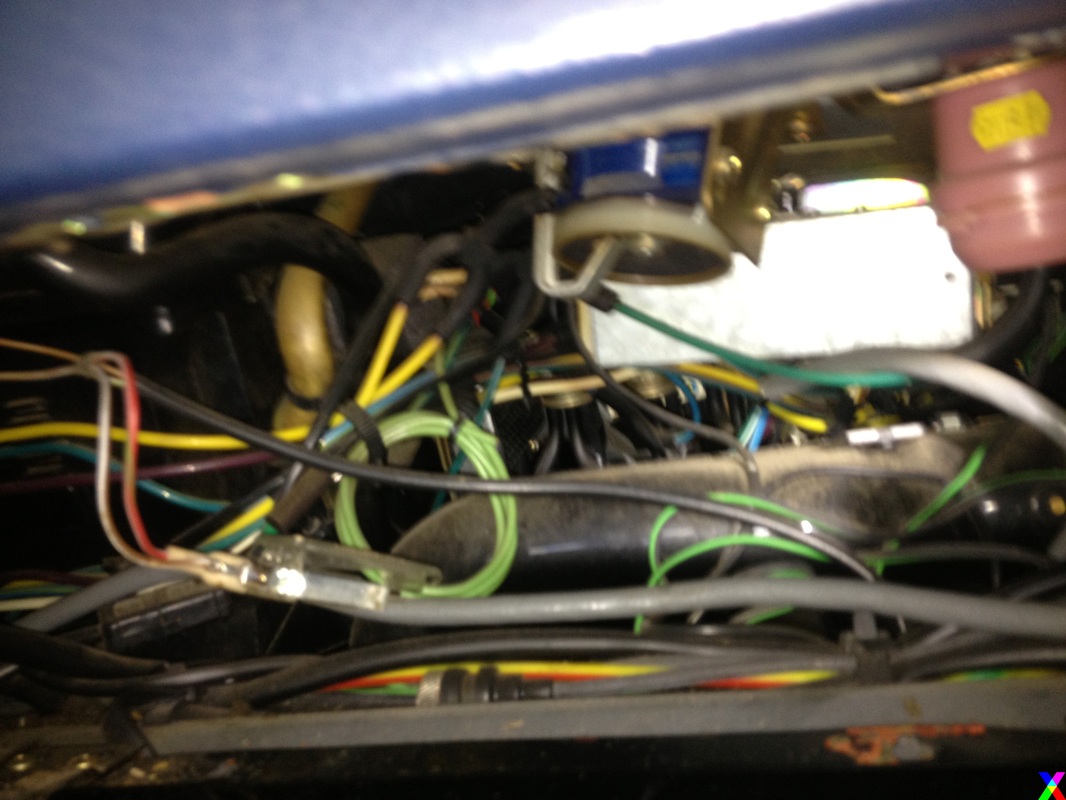
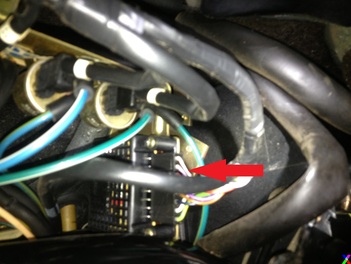
You are looking for this box which is held in with a couple of screws. You will remove the plug and then use the instructions and some jumpers to reconfigure the plug. This is another weak point in the original system so it is great to remove this part.
You can see the plug here with the jumpers installed and a zip tie used to gently hold it in place. Do not get carried away with the zip tie and over tighten it. Now you can put the glove box back in and tidy up the inside.
Now it is back to this inside. I did modify one part of the Unwired instructions. They included a copper pipe to connect two hoses together that used to be on opposite sides of the servo. I looked at the new pipe and cut the longer one to fit turning it around and eliminating the need for the copper pipe. It made for a cleaner installation and because the pipe was pre-bent it fit perfectly. However, if you decide to follow my crazy advice please be aware that I give no guarantee that it will work or even that it is a good idea. I have included some pictures of that below. They will make sense when you get to that part and have your car in front of you. The first picture has one part of the pipe connected. Second picture I am cutting it. Final picture shows how it looked when installed.
I am installing the old bracket looking lovely and black with heat happy paint and the digital unit already attached.
Below is the final installation. You can see the rubber part with the tubes that I mounted to the bracket. There were a few other steps, but I intended this to be a supplement to the instructions that will come with your Unwired kit rather then a replacement. Make sure you fill up your radiator and check for leaks. Follow the Unwired test procedures and be careful that you burb the system so that you do not have air trapped. Do use distilled water not the stuff from your hose. My system works great and I am now trouble free. I hope you have the same success. Happy restoring!